
A few years ago, I was obsessing over getting backyard chickens. “For the eggs, honey” I said. Really I meant, “for the poop.” But you can’t quite convince a skeptical spouse with that reasoning. Now that I’ve kept chickens for several years, I have been curious to see the effect of using the composted deep litter on my vegetable garden and compare my actively managed soil with my native soil.
Soil is surprisingly complex, so this article covers the basics of soil texture, pH and organic matter. The second article covers macronutrients (NPK), secondary nutrients (S, Ca, Mg), and micronutrients (Zn, Fe, Cu, Mn, B, Mo, Cl), and information on how to adjust their amounts.
Farm Tips for Homeowners
This year, I’m taking an Extension Farm Class, and had a fantastic opportunity to learn how to test my soil. Although each farm was only allotted one sample in class, I discovered that King County gives each homeowner FIVE(!) free soils tests. Dig around on your county’s Conservation District website to see how to take and submit soil samples.
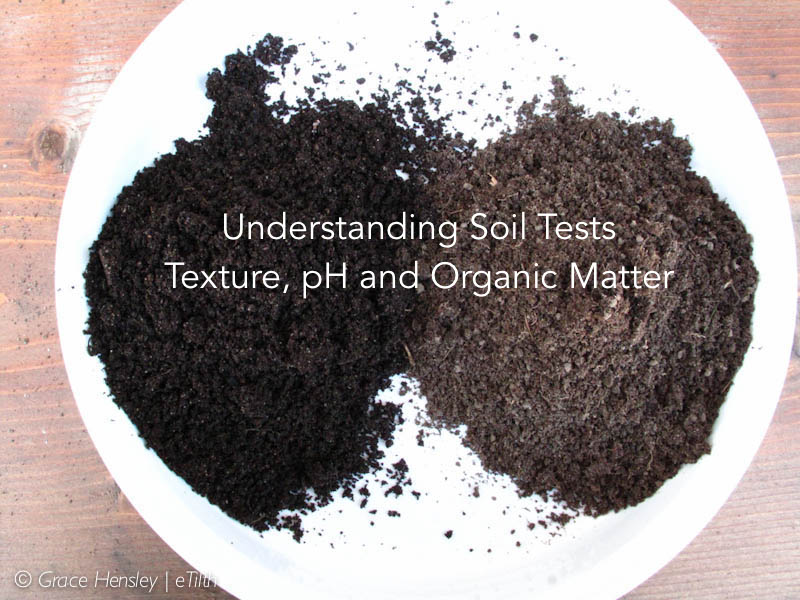
Ideally, take several 1” cores, about 6-12” deep, until you have about 2 cups of soil. You can use one of these fancy soil-samplers, but a shovel works just fine. I dug a narrow slice of lawn from three separate sites in the front yard, knocked off the edges to make a 2″ x 2″ x 6″ core. I discarded the grass, mixed everything in a bucket, and sieved it through a ½” hardware-cloth screen to remove the worms and stones. I repeated the process in my vegetable garden, taking care to keep the samples separate. I put each sample in a pyrex pie plate and gently dried them in the oven for a couple of hours … just barely warmed to 150oF or so. [Edit: I should have just air-dried these; heat can be detrimental to getting an accurate reading.] There was an obvious color difference between the greyish lawn sample and the dark vegetable garden sample. Then I packaged them in zip-lock bags, labelled, and mailed them off to two different testing laboratories, A & L Western Agricultural Laboratories (King County), and Soil Test Farm Consultants (Snohomish County).
Delightfully, the results came by email within a few days.
And they made no sense. Now what?
Picking Apart the Report
Interpreting your soil test results can be as dry as … well, dirt. But, let’s start with the basics:
Soil Texture:
There are three kinds of soil particles organized by size: Clay (less than 0.002 mm), Silt (0.002-0.05mm), and Sand (0.05-2mm), and the percentage of each of these makes up your Soil Texture. Well, actually, you’ll also have gravel. And sticks and twigs. And worms. And endless numbers of big-ass stones.
Your soil test probably won’t calculate these values for you, but you can put some of your screened soil (no worms, please) in a straight-sided jar with some water, shake and let settle. Then get out your ruler and measure the thickness of each layer. Do a little math, and you can figure out your soil type. The ideal texture for crops is a medium loam, about 20% Clay, 40% Silt and 40% Sand (see where the lines intersect in the chart below).

Ph-iguring out pH:
The next important item to understand is pH, which is a measure of how acidic your soil is (pH stands for ‘Potential Hydrogen’). Plants grow best when nutrients (chemical elements) in the soil are available for their growth. Nutrients are bound to soils or wash away, if the soil is too acidic or basic. The optimal range for most crops is a pH between 6 and 7.5.
 My soil tests came back with a pH of 4.6 in the lawn (acidic) and a pH of 6.4 (optimal) in the veg garden. Typically, if your soil is high in clay (small particles which hold onto many hydrogen atoms), or in a rainy climate (which washes away most of the other cations like Calcium and Magnesium), then your soil will be acidic. Since I live in the Pacific Northwest, this was no surprise.
 You may also get a value for buffer pH, which is a laboratory-defined value based on how much the pH of the sample changed when they add a standard amount of lime to it. Buffer pH may also be labelled SMP, named after the people who developed the test – Shoemaker, MacLean and Pratt. This means that my lawn, with a buffer pH of 6.1, holds onto acidic particles much more strongly than my vegetable garden, with a buffer pH of 6.3. It will take more lime, therefore, to change the pH of my lawn. Based on your soil type and the types of crops you want to grow, follow the recommended amounts in your lab report [See the OSU Soil Test Interpretation Guide].
My lab, A & L, suggested that I add 180 lbs of Dolomitic Lime ( CaMg(CO3)2) per 1000 square feet to the front lawn. You could also add Agricultural Lime (CaCO3) which comes from chalky deposits high in calcium, but doesn’t contain as much magnesium. The ideal time to add lime is in the early Fall, but lime takes time to be incorporated so don’t add it all at once. Conveniently, my front lawn is exactly 1000 square feet; I’ll add 50 lbs next October, and the same again for two more years, testing each year to ensure I don’t over-apply it.
Note: if your soil is basic, you can add elemental sulfur to bring the pH down to neutral. Clay-rich soils require more sulfur (40-50 lbs/1000 square feet) than sandy soils (10-20 lbs/1000 square feet)
Organic Matter:
The next part of the soil test report you should look at is percent organic matter. Typically, you should expect a Soil Organic Matter (SOM) percentage between 3-5%, but 2.5% is fine in sandy soils, and 10% is common in clay soils in cool, rainy climates. Organic matter provides a good reservoir of nutrients and increases the water-holding capacity of your soil. I got an okay reading of 5.1% for my lawn and a whopping 17.1% in the veg garden! Way to go, chickens!

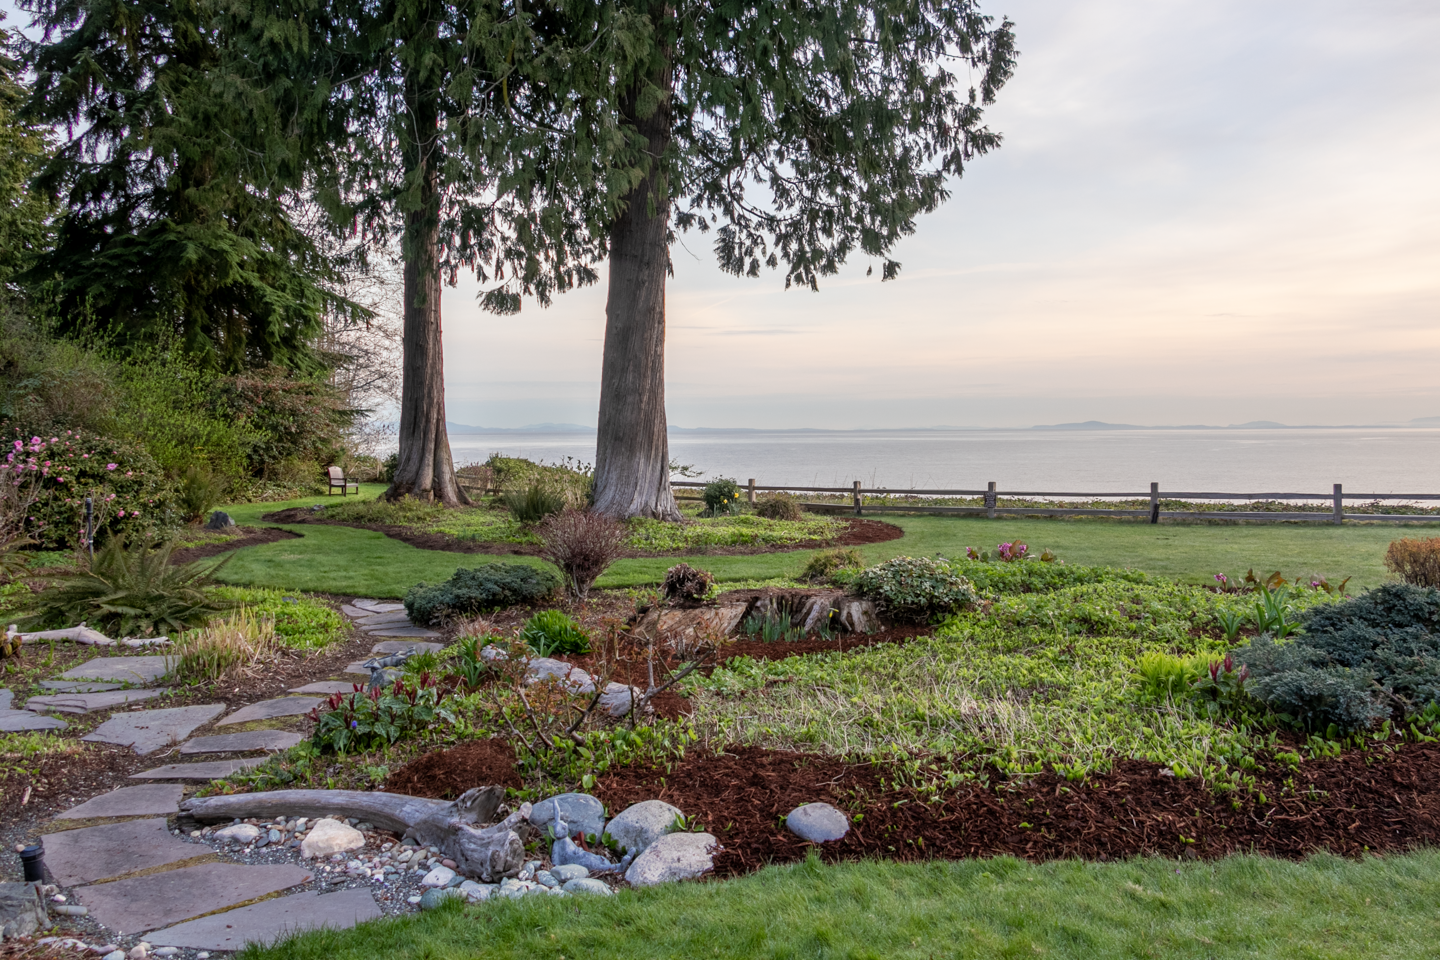
I should add, however, that it is okay for me to add organic matter to my vegetable garden because I am actively growing crops on this soil, and by definition, removing organic matter every time I harvest a head of lettuce. However, 17% is way too high for landscapes. A better way to manage my front yard is to top-dress permanent plantings (trees and shrubs) with wood-chip mulches which will decay nicely over time. You can read more about this topic by Linda Chalker-Scott on her Horticultural Myths, page, in the Soil Amendments section.
In the next article, you’ll learn about how to understand your macro- and micro-nutrient amounts and how to adjust them. Until then, you can read how plants get nutrients out of the soils on my Hobby Farms Article.







5 Responses
Nice explanation. Can’t wait for part two!
Oven-drying is NOT recommended because even on the lowest setting it is too hot and potassium gets fixed. It cannot be dried any hotter than 100 degrees F. Air drying laid out on a paper bag is preferred.
Also, the 5 free soil tests with King Conservation District (NOT “King County”) are lifetime. So if you use all of your free tests up the first year, then you will have to pay from that point on. Just depends on what your goals are whether you should do that or not.
KCD will be at the Northwest Flower and Garden Show next week. you can even bring your soil sample in to drop off at the booth there.
Also, one more thing. There are restrictions about who is eligible to get free soil testing. Please note:
The cities of Enumclaw, Federal Way, Skykomish, Milton, and Pacific are outside the District boundaries, but residents of those cities can have samples processed for a fee of $20 per soil test.
Thanks, Liz, for the comments.
Sometimes you need a little hand-holding to get started, and most people don’t even know what a Conservation District is, so thank you for your work! Giving residents a few tests for free to get into the habit of testing their soil and understanding what to do with the information is invaluable, and I’ll be happy to pay for subsequent tests, now that I ‘get it’.
I will update the article about drying the soil sample.
You bet! And if you are at the NWF&GS, stop by the KCD booth and come say hi! I will be there midday on Thursday.
It’s always interesting to see how organic matter levels vary depending on soil type and climate. I love how you highlighted the importance of understanding the balance, especially with your vegetable garden—17.1% is impressive. And I’ve heard about the benefits of wood-chip mulches for landscapes too—definitely going to check out Linda Chalker-Scott’s work for more insights. Thanks for sharing!